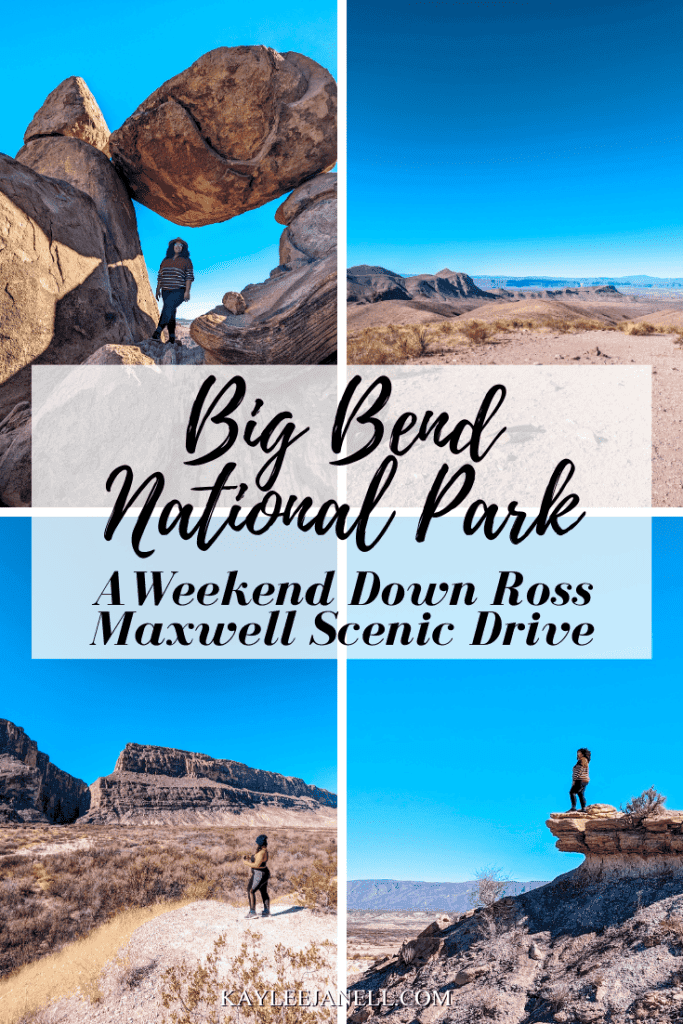
Weekend in Big Bend National Park- Ross Maxwell Scenic Drive
If you are looking to spend a weekend at Big Bend National Park here in Texas, I have an itinerary for you. This weekend trip goes over the Ross Maxwell Scenic Drive here in the park plus more!
Big Bend National Park is 801,163 acres of natural landscapes in the far west side of Texas bordering the United States and Mexico. It got its name from a large bend in the Rio Grande River and is home to over 1,200 species of plants, 450 species of birds, 56 species of reptiles, and 75 species of mammals.
Since Big Bend National Park is so large I have broken it up into 4 sections to see. The entrance, has the fossil exhibit, the Castolon, which includes Ross Maxwell Scenic Drive, the Chisos Basin, where the main mountain hikes are located and the Rio Grande Village, where you can soak in hot springs and eat lunch in Mexico!
Living in Texas, it’s nice to have a national park with so much to offer. Since it’s a 6 hrs drive from our area I decided to break the park into multiple weekend trips. We can do them whenever we want to go on the weekends to escape life and be lost in nature. For this weekend trip, I combined the entrance area with the Castolon area.
The Castolon has what’s called the Ross Maxwell Scenic Drive and this drive is an hour-long going down and 1 hour coming back up. It includes scenic overlooks, hiking trails, picnic areas, a visitor center, and a campground.
Let’s go over the itinerary for these 2 days
Day 1- The Entrance
Since the park is quite a drive away from central Texas where I live, we arrived at around 1 pm at the entrance. You can pull over and take your picture with the entrance sign and then make your way into the park.
When you enter the park from Main Park Rd there is a booth to your left that you would think is where you pay for your entrance fee but it’s not. It’s closed and you can pay at the visitor center to the right just a few feet ahead. It’s called Persimmon Gap Visitor Center and entry to the park costs $30 per car and lasts a week.
Fossil Discovery Exhibit
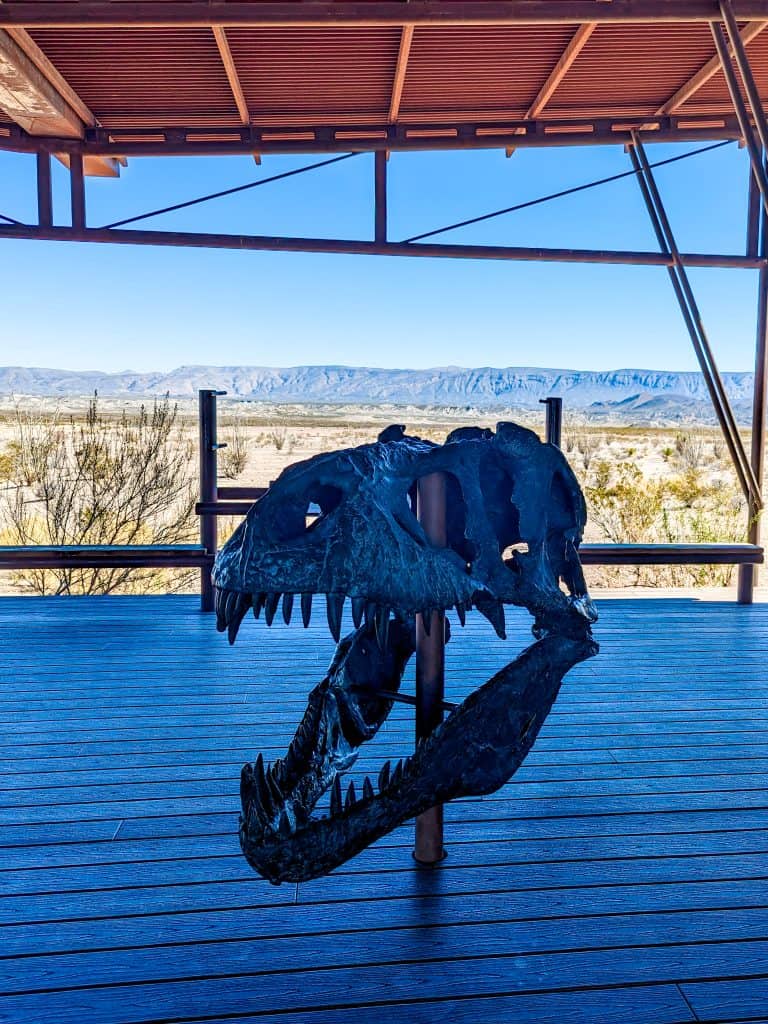
Continue driving down into the park and look out to your left for the Fossil Discovery Exhibit. Here they showcase fossils and examples of items they have found in the park, what the location used to look like 90 million years ago and what animals lived in the area.
It’s pretty cool to see the scale of the extinct dinosaurs compared to humans and learn more about them. Plus the view here is beautiful and they have a look-out area right next door. The building is made with a sustainable design and if you notice you don’t see it from the road when you drive by, only when you pull in you can see the building. This is to keep the area looking as natural and intact as possible. There are also restrooms and a picnic area here.
Panther Junction Visitor Center
After the Fossil Discovery Exhibit, continue to go down the same road till you reach Panther Junction Visitor Center. This visitor center is much bigger than the previous one and showcases a small-scale model of the entire park. There’s educational information on the walls plus a large bookstore/ gift shop. There are also restrooms and a post office here! Can you believe it, in the middle of nowhere you can send a postcard back home.
Next door is a gas station also with a restroom. I say this because there are hardly any restrooms throughout the park so take advantage when you can!
Before heading to our next stop, we had a picnic and ate sandwiches with chips and fruit to give us nutrients for the day.
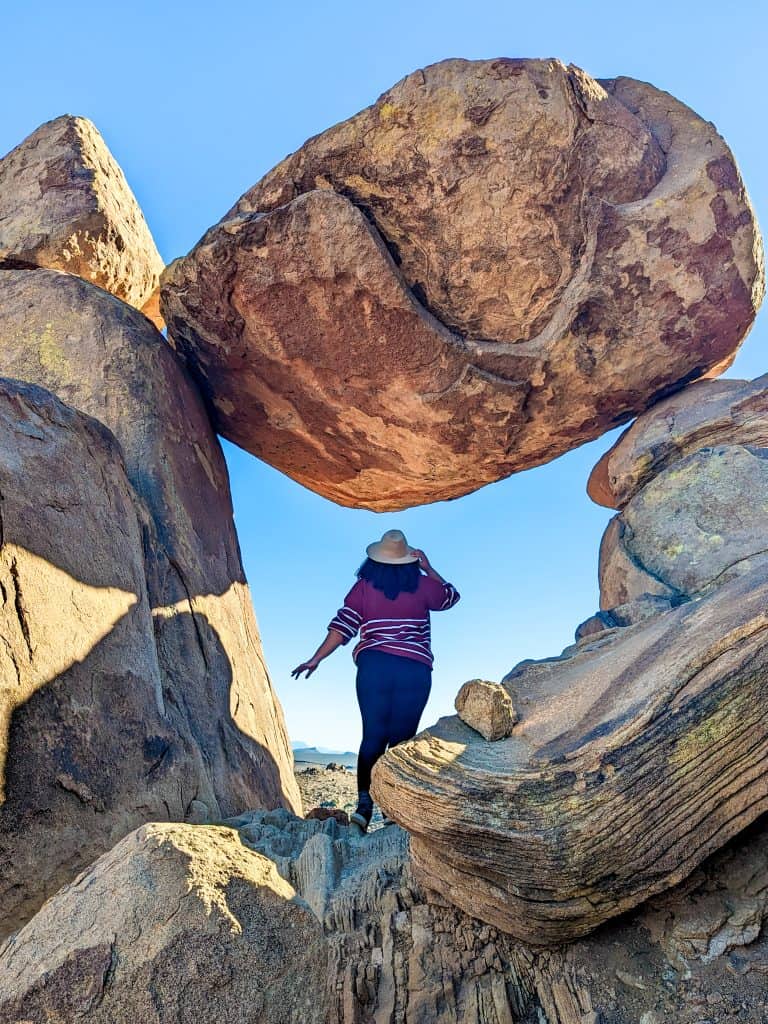
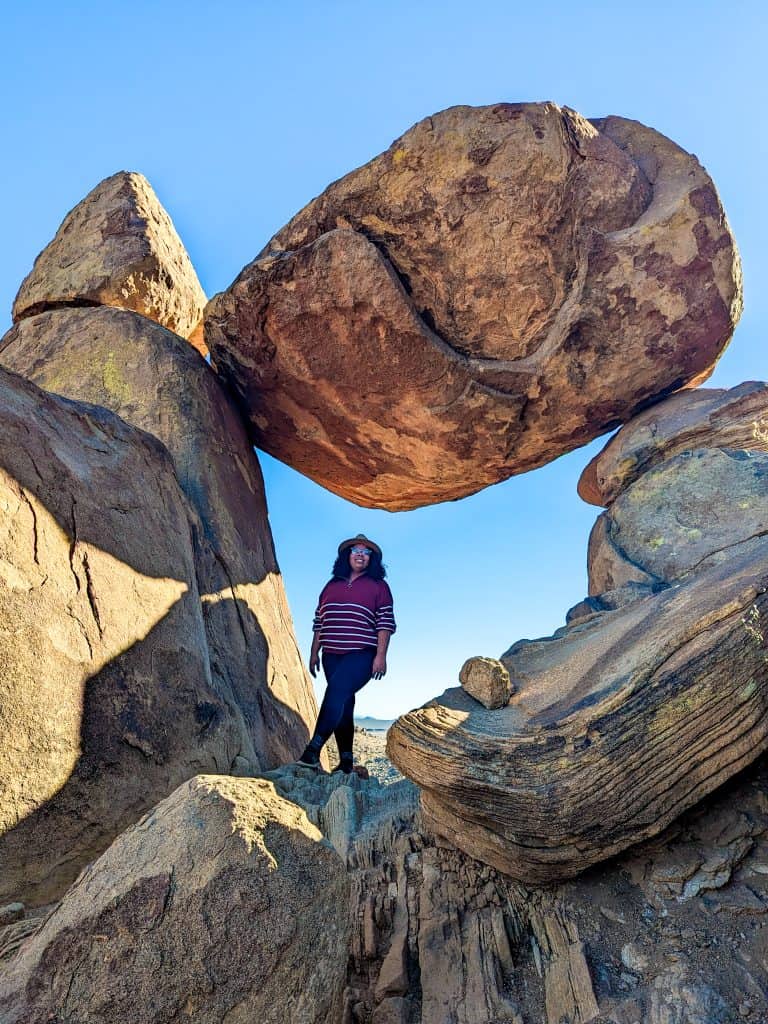
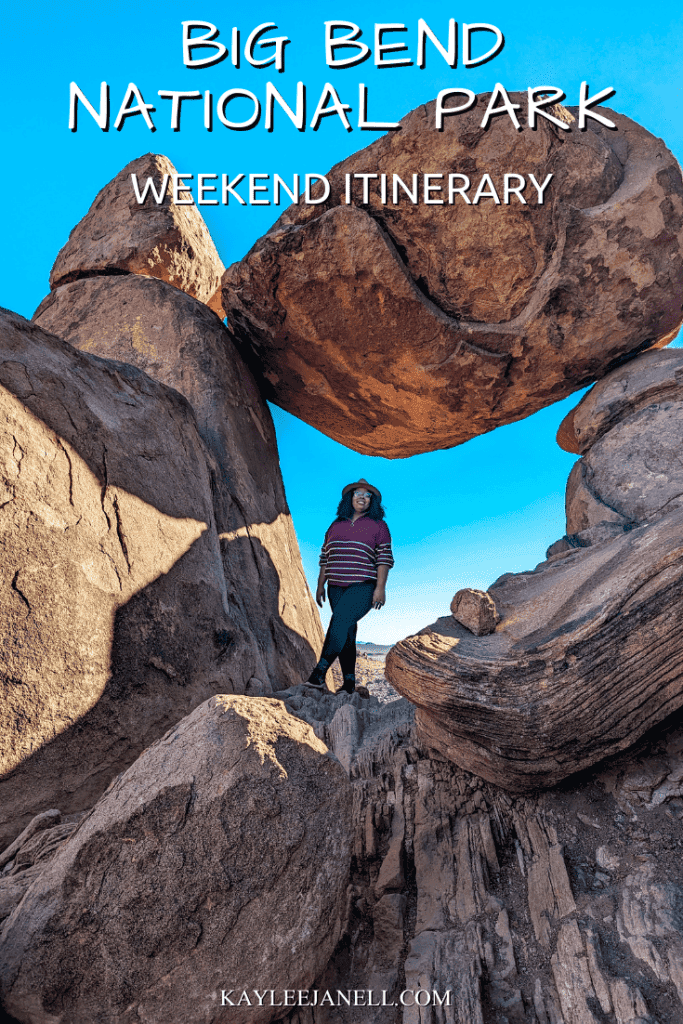
Balanced Rock Hike
After you leave the visitor center or gas station it’s time to take the 1st hike of the trip. The Balanced Rock trail is 2 miles and takes about 50 minutes to complete. You turn west down Gino Springs and turn right onto Grapevine Spring Road. This road is very rugged and long. It is recommended to use a high-clearance car which I have. However, we did see small cars and vans there so if you do make the trip just go slow and take your time. The drive is around 30 minutes long to get there and another 30 minutes back.
The hike is wonderful, with fresh air, large boulders, and scenic views. The 1st 15 mins are smooth and straight and the remaining 10 minutes are climbing up a hill literally climbing over large rocks. It seems confusing on where to go but there are signs posted so look out for them. Once you reach the balancing rock, pat yourself on the shoulder, take in the view and start making your way back to the parking area.
Set Up Camp
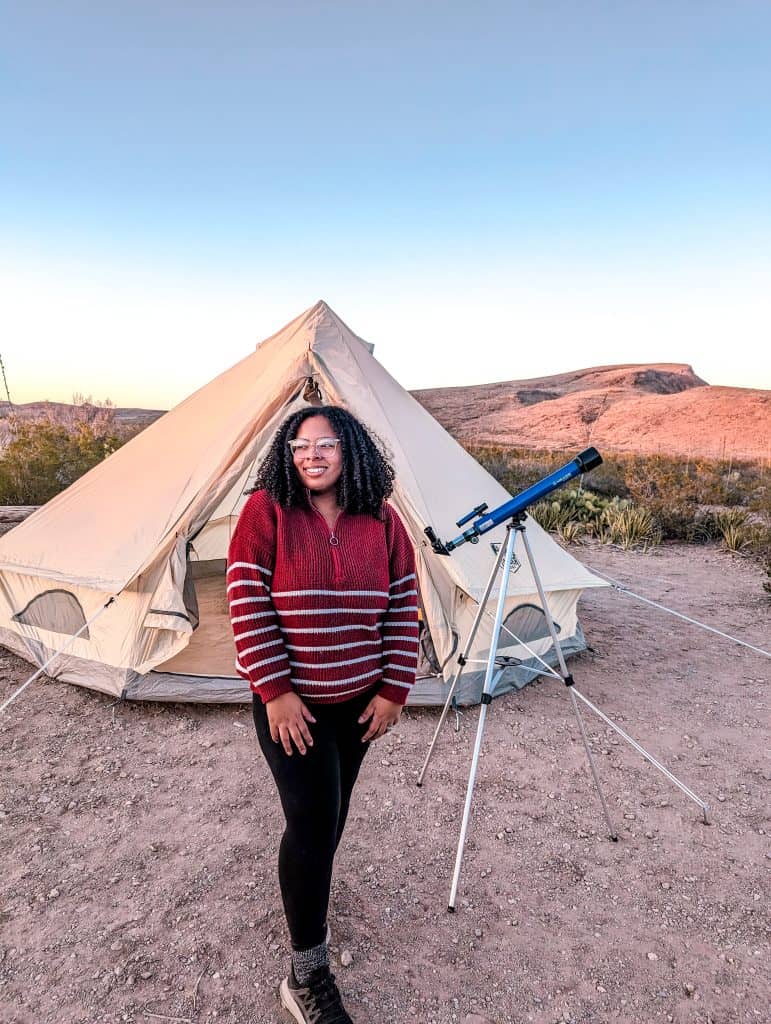
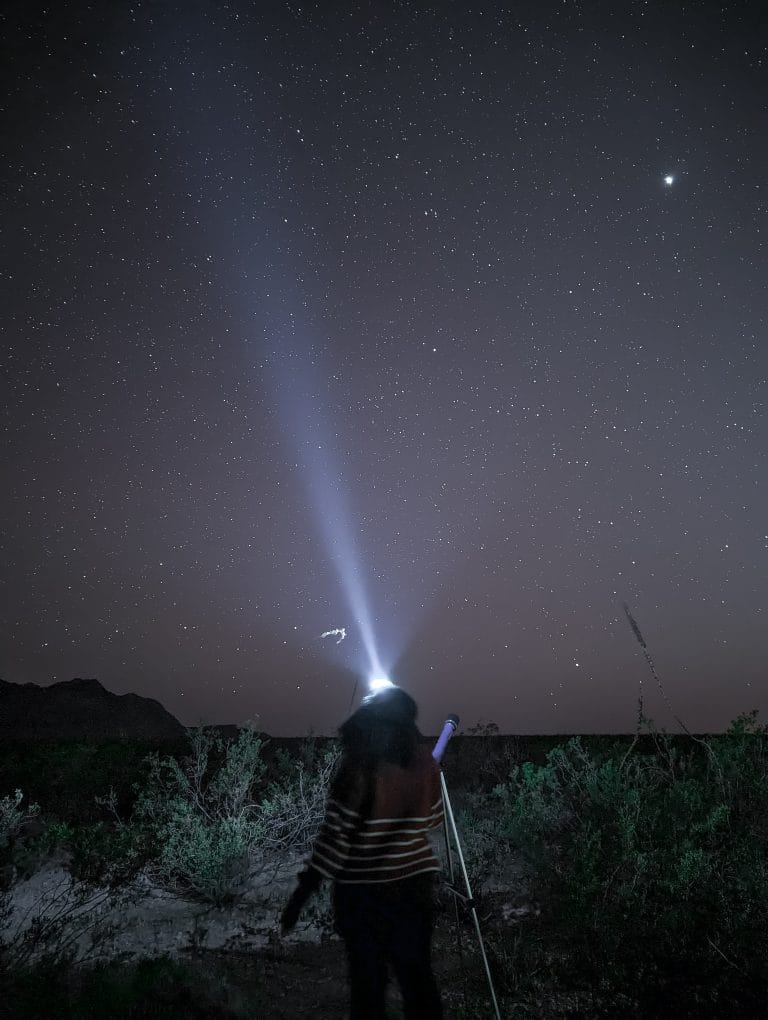
For this itinerary I recommend staying in the park, there are primitive campsites on the road that Balanced Rock is on. Primitive means there is no running water, electricity, or bathrooms. Just you and nature. There are more primitive sites on the road next over on Paint Gap where we stayed and it was beautiful. I chose here because I was stargazing and wanted zero light pollution. You can read about star gazing at Big Bend here!
If you’re not into primitive sites there are camping sites at Cottonwood Campground which is towards the end of the Ross Maxwell Scenic Drive. More on that in a bit. It has water and bathrooms on site plus a grill pit. All single campsites are $10 a night. There is only one lodging in Big Bend and it’s Chisos Mountains Lodge, located in the Chisos Basin region.
For the rest of the day, you can relax, grill up some food for dinner and wait for the stars and milky way to show up in the night sky. Don’t forget the marshmallows and ghost stories! Want to know what I bring when camping? Read Camping Travel Essentials.
Day 2- The Castolon
For day 2 you’ll want to eat breakfast and pack up camp a bit early, depending on how far your drive back home is. Today we’re viewing overlooks and hiking. We packed up and left our site at 8 am then went back to Panther Junction Visitor Center to use the restroom and get more gas.
Sotol Vista Overlook
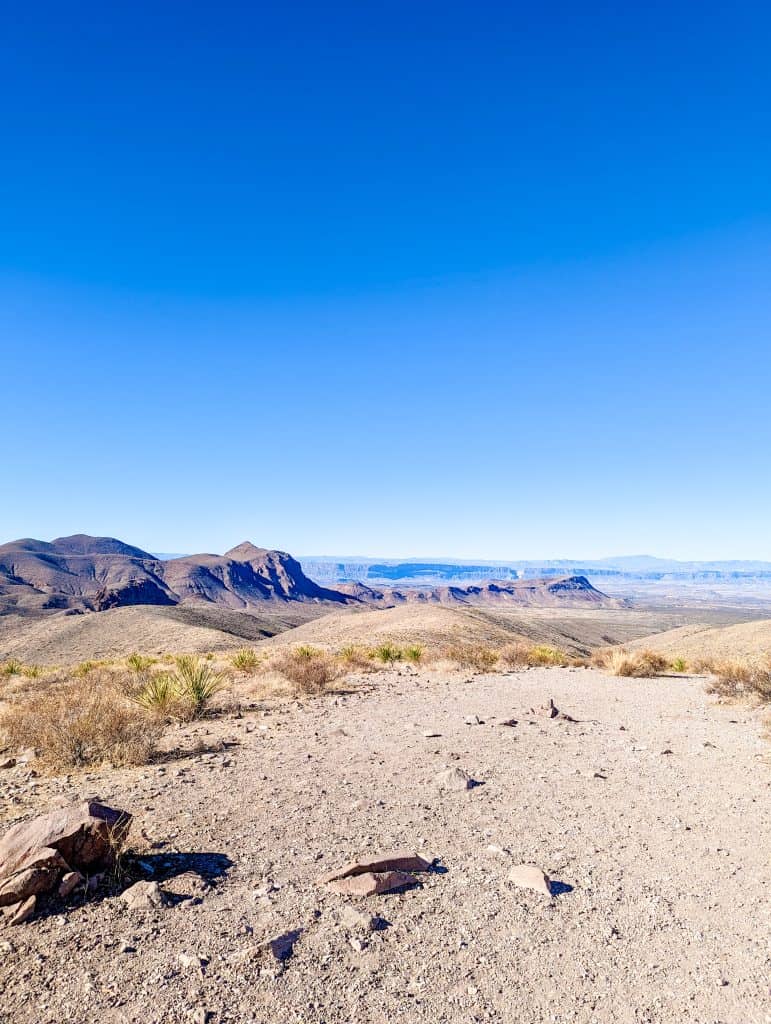
The 1st stop on the scenic drive is Stool Vista. This quick stop is by far one of the most stunning views on the drive and is totally worth coming to Big Bend to see. The views are 360° so bring your binoculars to see if you can spot some wildlife.
The roads wind a lot in this area and the speed limit is 35 to 45. Because you go up and down in elevation your ears will begin to pop.
Mule Ears View Point
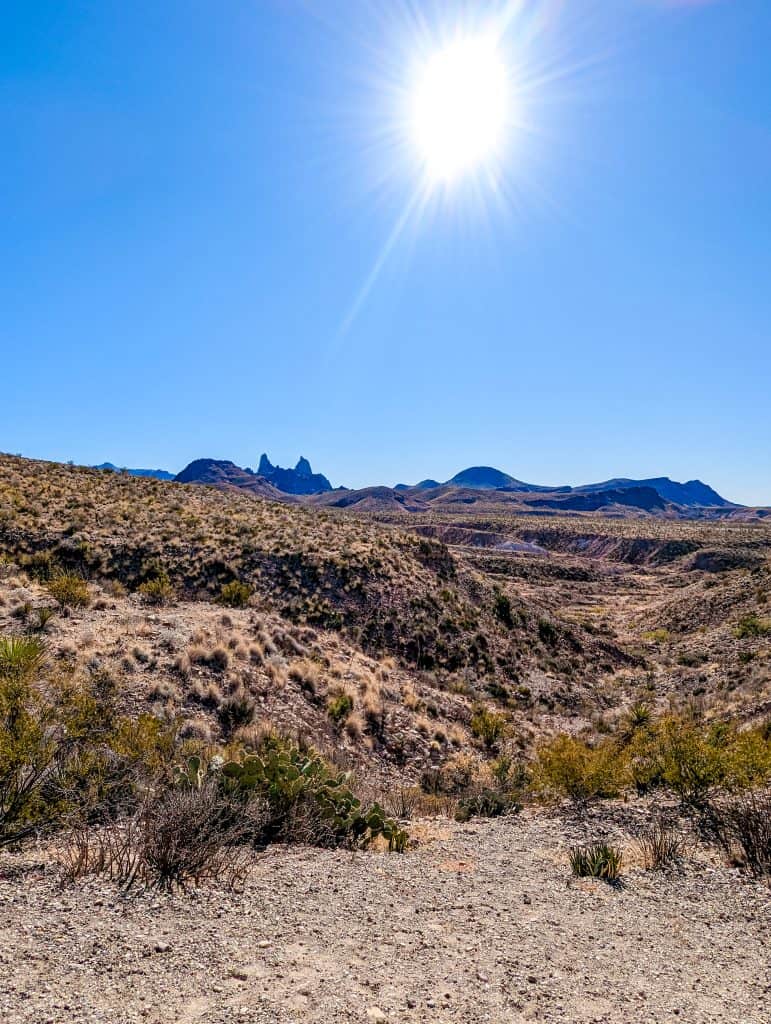
Mule Ears is a hiking trail and a viewpoint. The trail is 3.9 miles long however I would suggest skipping it if you’re just here for the weekend. The viewpoint is nice because there is a mountain in the far back that resembles the ears of a mule.
Tuff Canyon Hike
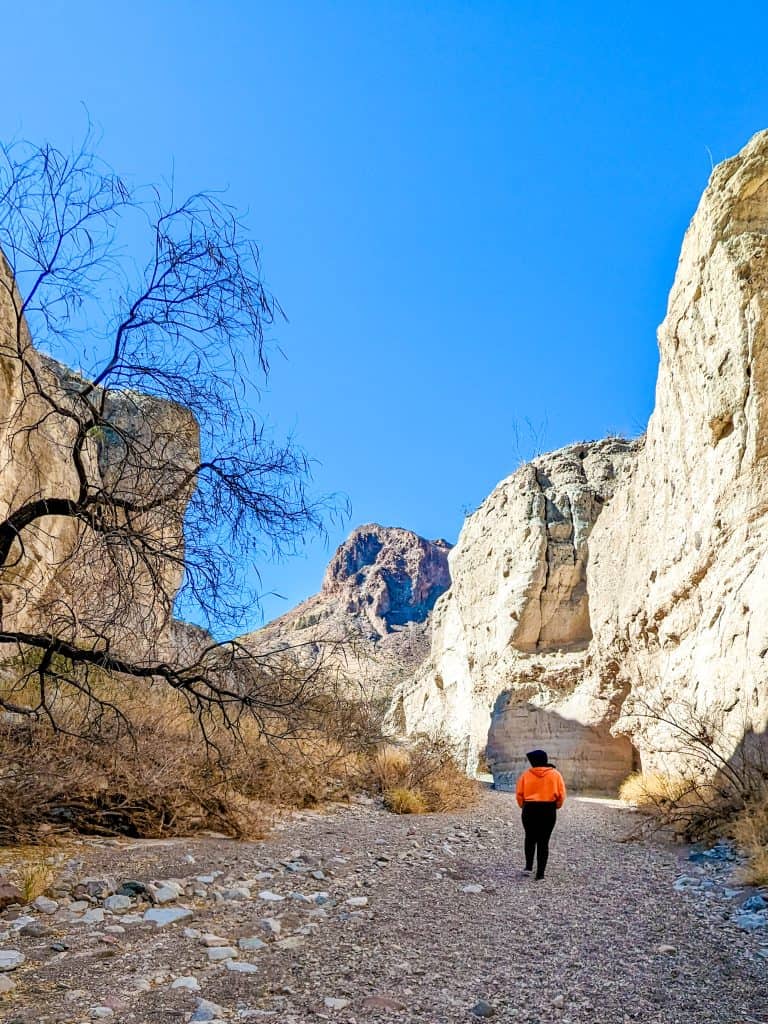
The next stop is Tuff Canyon which also has a viewpoint and trail. I do recommend taking this hike as it’s short and easy and it’s extraordinary to be able to walk through a canyon. You get to see the rock layers and walls up close.
There are signs that say viewpoint and canyon floor. The trail is on the canyon floor so keep following those signs to take you to the hike. You can also stop along and see all the viewpoints that they have.
Santa Elena Canyon
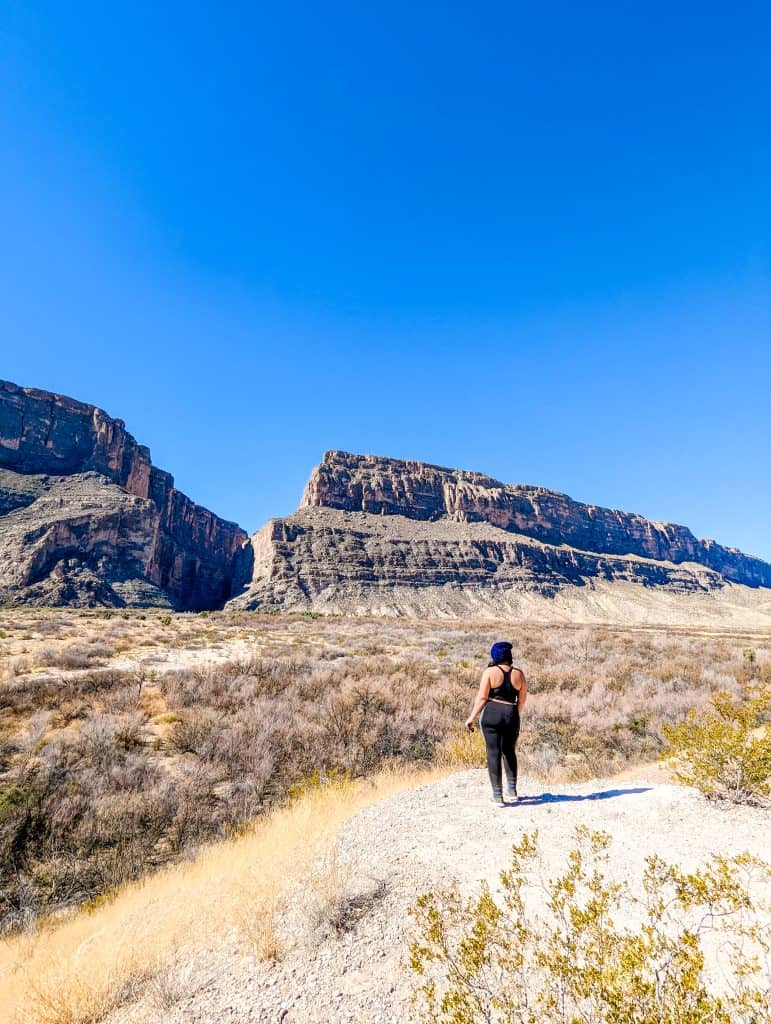
My favorite part of the whole trip was the Santa Elena Canyon. There is also an overlook and hiking trail and I recommend doing the hike. It’s a 1.7-mile round trip and takes around 42 minutes. This easy hike takes you through the Santa Elena Canyon where one side of the canyon walls is Mexico and the other is the United States. you get to walk in between two countries!
You walk alongside of the Rio Grande River, and it’s possible that you will get your feet wet. After arriving here we sat and ate lunch at the overlook and the view was just incredible at the size of the cliffs. Unfortunately, we weren’t able to hike it as planned due to high waters being waist-deep. Check with the park rangers before going but if you can go I recommend it.
After your hike is complete you can now start making your way out of the park and back home. It’s around a 2-hour drive from Santa Elena to the exit on Main Park Rd.
That’s the Big Bend National Park Weekend Itinerary!
I hope this weekend itinerary helps you in planning your trip to Big Bend National park. Let me know in the comments what’s your favorite part about the trip.
Happy exploring!

PS. If you found this post helpful, please share it to Pinterest! You can use either of the images below for easy pinning!
This page has affiliate links. I may earn a commission if you click and make a purchase at no cost to you.